After some very lazy days, I finally sat down at my sewing machine. First project, some bookmarks – and then on to some prep work for a kids’ quilt that I’ve wanted to do for a while.
The bookmarks – a quick and easy project/gift that I had seen at my parents’ home. They were made for them by one of their quilting friends, and when we stopped by there before Christmas on our way to Alberta, the friend came over and gave me a quick tutorial. Apparently she bought a special ruler to make these, but I thought I should be able to figure it out without that, and I think I have.
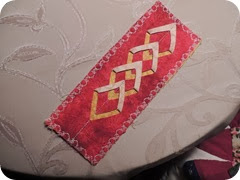
This is the first one that I made a few days ago, and Grizz is using it in his books right now. I made a few mistakes, but that’s what practice is for isn’t it:
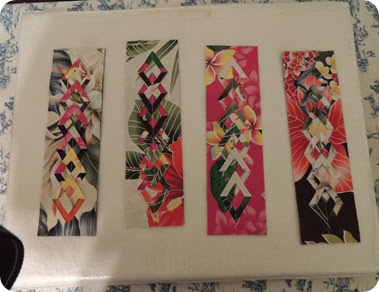
These are the four that I finished up today, after I did one, taking pictures so that I could share a tutorial with you. These ones still need the final edge-stitching:
And here’s the one that I made for the tutorial: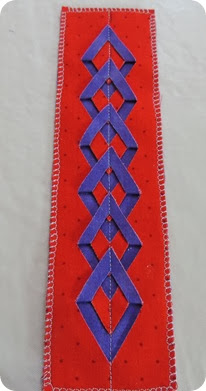
Very easy, and actually very little sewing.
Start with 4 strips of fabric – for the tutorial I used red and purple, but for the others I used 4 different fabrics, and my parents’ friend also used 4 different fabrics in each of the ones that I’ve seen that she has made.
I cut fabric 2 1/2” wide by about 8-9 1/2” long, with the intent to have a finished product 7 1/2” long. It’s actually important for the finished look to have that 1/2” measurement for the length.
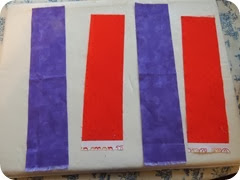
Back any two of the strips with fusible web – I use Misty Fuse, but a light Steam-a-seam would work just as well'. If you look very closely at this picture you can just see the Misty Fuse on the left-hand side. Placing the iron on the edge of the fabric, and you can pull away the excess fusible web – and as you may be able to tell I’m using a silicon pressing board, very important if you’re not using fabric-backed fusible!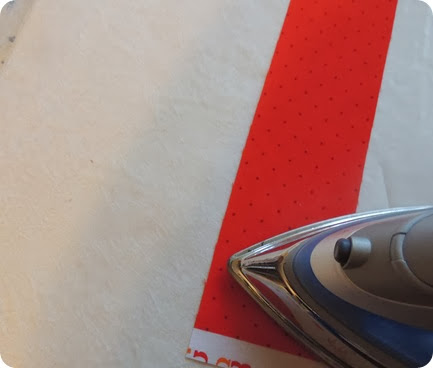
Place the fused fabric wrong sides together with the un-fused fabric: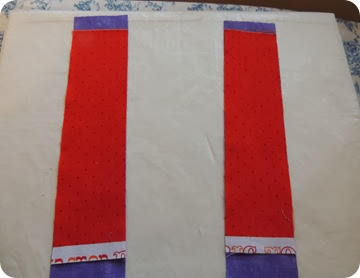
For this purpose the red (fused) strips are shorter than the purple (unfused) strips. Set aside one set, and fold the other set in half length-wise, and press:
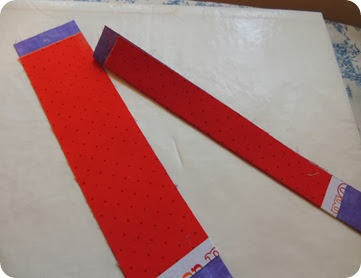
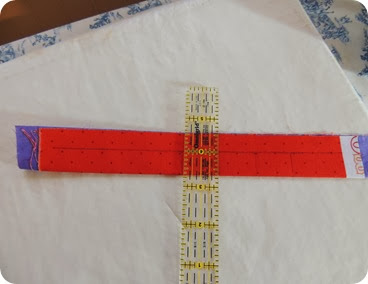
Mark a line 1/2” in from the long raw edge (I call this the vertical line). I used a Fuzion pen for marking because the marks will disappear when pressed afterward:
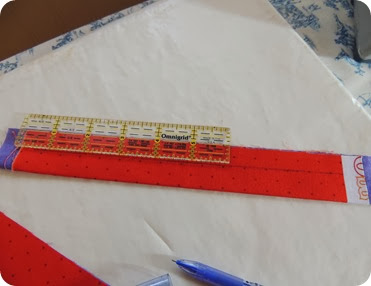
Mark a horizontal line 1 1/2” from one end from the fold to the vertical line:

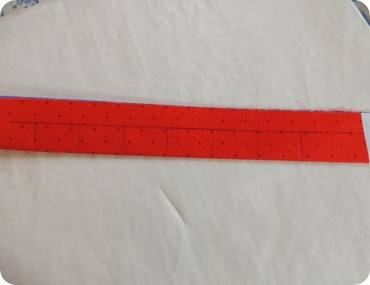
Mark lines at 1” intervals across the width from the marked vertical line to the folded edge, for the length of the folded strip:
This creates 6 ‘boxes’ in a 7 1/2” length strip:
Then mark diagonal lines from where the folded edge and marked lines meet to the opposite corner of the ‘box’.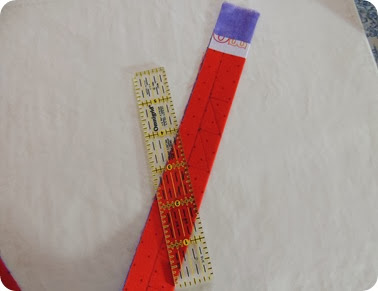
Be sure to make the diagonal lines run toward the 1 1/2” space at the end. Then mark a second, shorter line from the fold to the horizontal line 1/4” above the already marked diagonal. Do NOT mark below the last horizontal line:
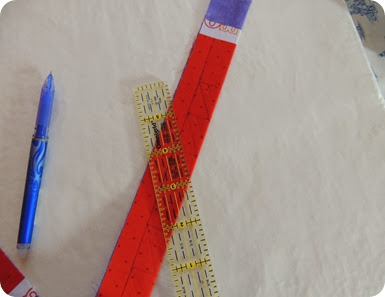
Cut along all the diagonal lines. Again be sure that you’re cutting from the fold toward the vertical line, with the ‘point’ away from the 1 1/2” space at the ‘top’ end:
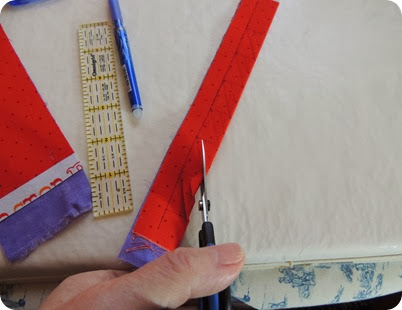
Open out the folded strip, and press flat:
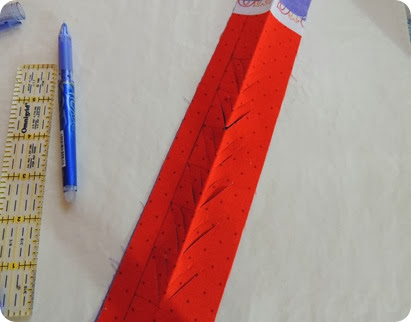
Fold up and finger press the V’s created, then press with your iron:
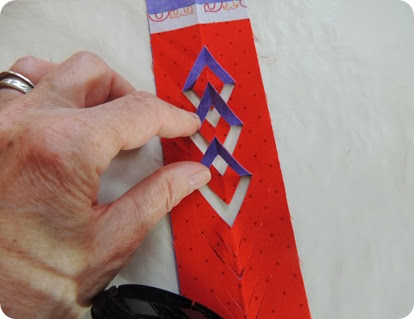
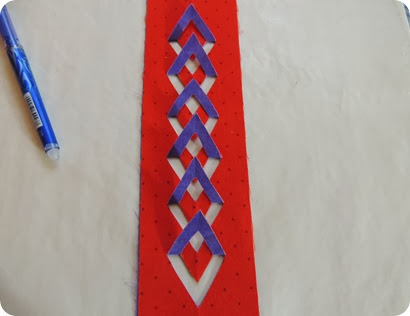
Pick up the fused strip that was set aside, and determine which fabric you want to show through the cut out spaces:
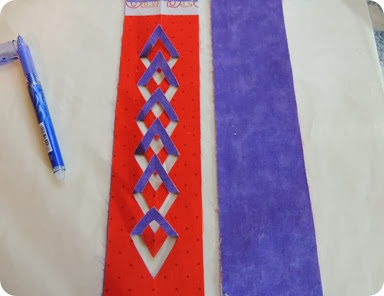
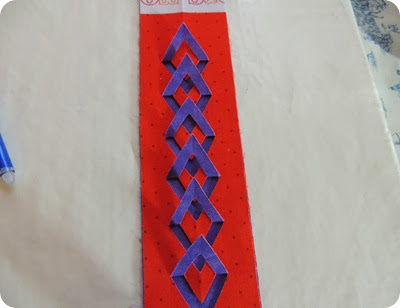
Put the strips together and secure with a dab of glue: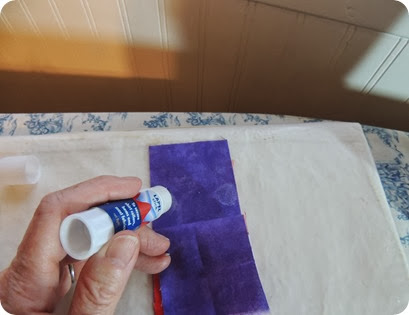
Now before proceeding, make sure that if there’s any selvedge on any of these strips, that they will be cut off. I neglected to do that, and the back of this bookmark has some selvedge at one end (LOL – must laugh at myself!).
Secure the strips together with a line of stitching down the center: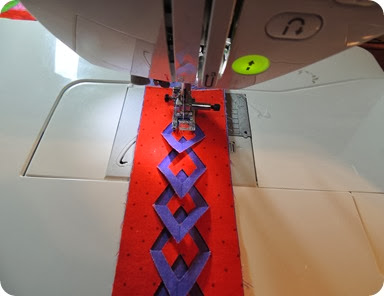
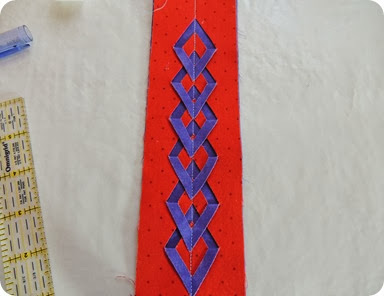
Trim all sides 1/2” from the points of the diamonds:
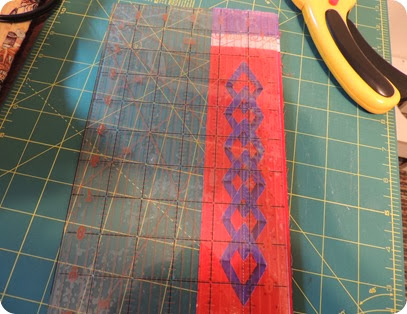
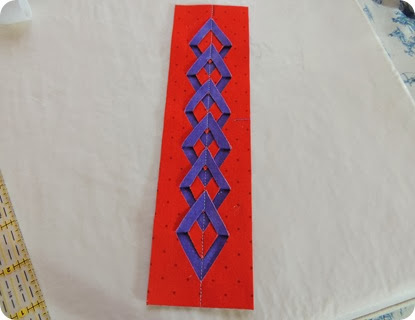
Using any decorative stitch, sew around all four sides: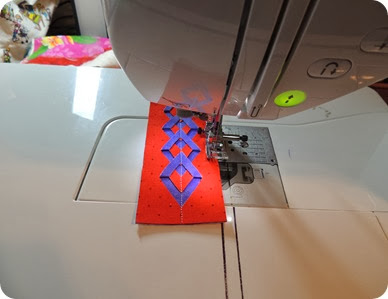
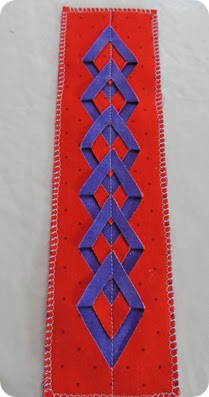
One last finishing touch – dab Fray Check on the raw edges: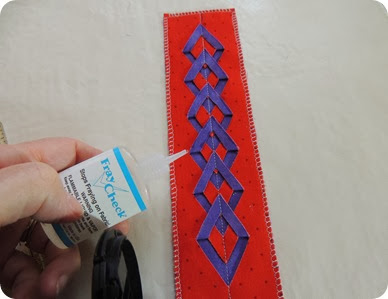
And when it’s dry – tuck it into your favorite book: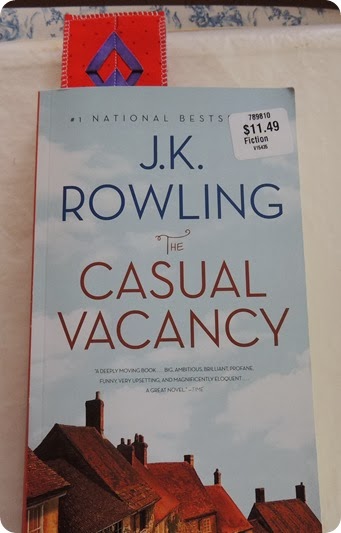
And, by the way, if you haven’t read this one, it’s well worth the read. It’s a far cry from her Harry Potter books, and I found it a little difficult to follow until I began to understand some of the British terms, but a very interesting read.
Happy reading! Blessings, Peg


